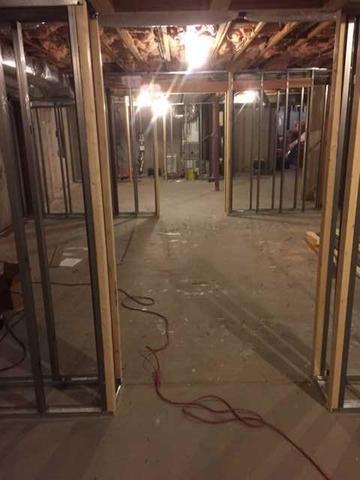
Beginning Framework for Everlast Walls
When our crew began production, the first initial steps they took was to map out how the homeowners wanted the basement to look. Shortly after, they began putting up the framework for the different walls and rooms being added to the basement.
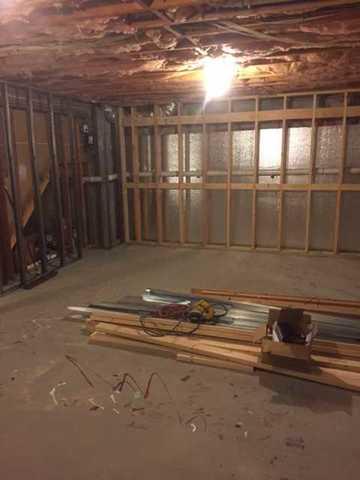
More Framework for Everlast Walls
This photo gives a more clear understanding of the way our crew set up the framework for our amazing Everlast wall panels.
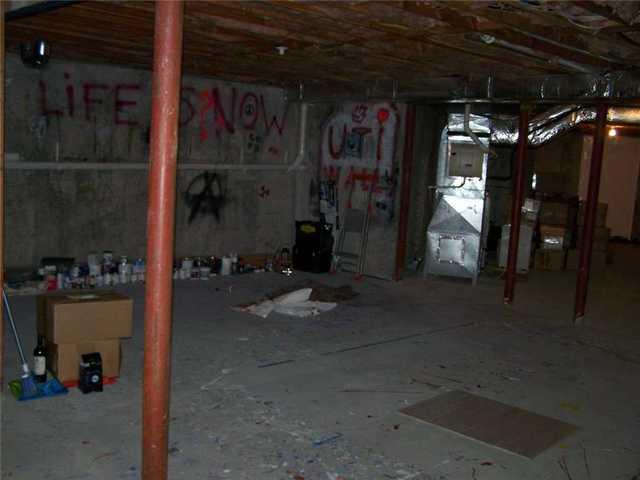
Pre-Production of Basement
The original look of the basement before any of our crew members began production on the basement. After seeing the transformation, you will not believe this is what this basement used to look like.
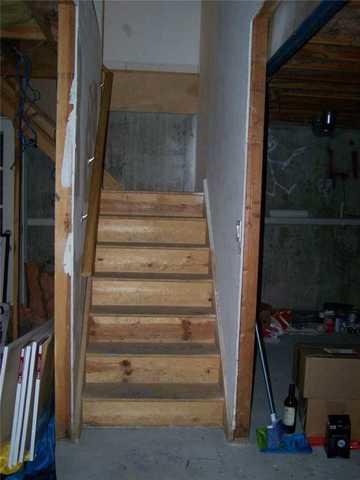
Basement Stairs Pre-Production
These were the original stairs that led from the ground floor into the basement. Clearly, the walls around them as well as the stairs themselves were in need of a renovation.
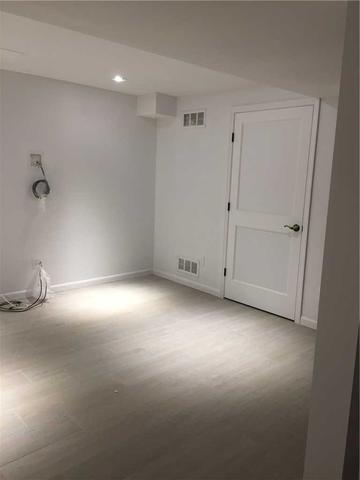
One Side of Finished Basement
A corner of the room which shows the installation of our Everlast walls, ThermalDry flooring and a door with a new frame. Clearly this basement went from outdated to ahead of its time in an instant!
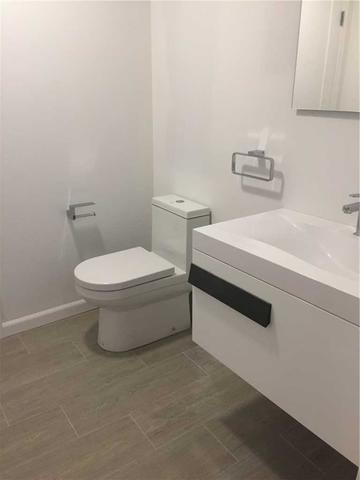
Newly Installed Full Bathroom
This full bath was also installed by our Total Basement Finishing team. Visible in this photo is another example of our Everlast walls and ThermalDry flooring.
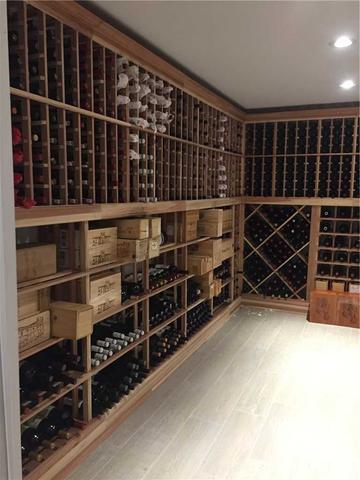
Unique Wine Storage Walls
After all the other Total Basement Finishing solutions and equipment was installed, these homeowners had a special request that our crew was also able to follow through on. This wall-sized wine storage unit added an unreal appeal and ambiance to the basement and showcases our crew's ever-expanding repertoire.
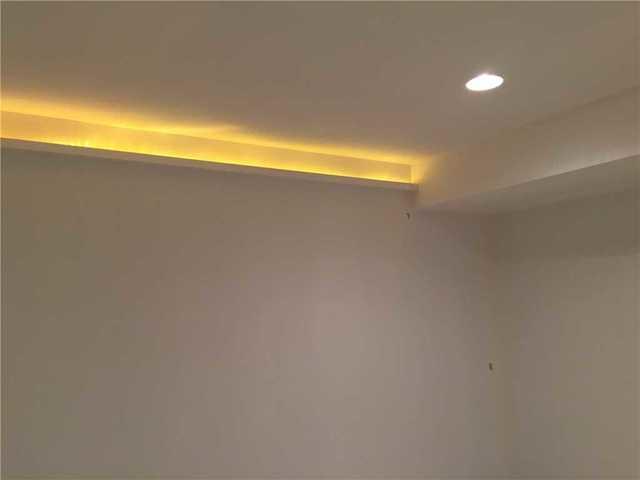
Custom Light Fixture
With the walls put in place, our crew was also able to implement this very unique lighting scheme that has yellow light leaking out of the top of one side of the basement walls. Another very unique installation that adds ambiance and originality to this Riverside basement.


